October 10, 2020 Docusaurus Static Website NodeJS Development
Cool stuff: This blogpost got featured on the official Docusaurus blog! 🎉
Now, go read on about creating your own Docusaurus plugin 🚀.
At ClaimR we have been using Docusaurus v2 for our developer and documentation website for a while now. After a couple of months of using it we can confidently say that we’re very happy with our choice.
Docusaurus comes batteries-included, so you immediately get a lot of value, while it is flexible enough to tailor it to your needs if there’s something you like differently. Also, their documentation is superb, as you would expect from a framework who owes its existence to its ability to create documentation websites.

Docu-what?
For anyone unfamiliar to Docusaurus, Docusaurus an open-source framework created by Facebook for making documentaiton websites for all their open-source tools. If you have been working on some NodeJS projects, then you have likely used documentation generated by Docusaurus, just to name some examples: Jest, Create React App, and Redux.
Now Facebook is working on the next iteration for Docusaurus, called Docusaurus v2. Which makes it a performant static site generator to quickly create all sorts of websites. Support for documentation is still a first-class citizen, but now you are free to use it to create whatever your heart desires. Officially it’s still in alpha, but to our experience it’s already very stable and new projects are encouraged by Facebook to adopt Docusaurus v2.
Why Would I Need Plugins?
The main reason why plugins exist in the Docusaurus ecosystem is reusability. There are plenty of bits of code which have a generic purpose, with plugins you can share these bits of code between these projects. Docusaurus uses plugins to separate the logic for creating blogs or documentation pages from core Docusaurus. Plugins can also be used for adding functionalities which aren’t directly user facing, e.g. there are official plugins for optimizing images, adding Google Analytics or creating sitemaps.
The official plugins are very useful, but it might be that your use-case is not satisfied by them. In our case at ClaimR we are using a different analytics provider than Google Analytics. Plugins are very useful here, as you can use them to inject the tracking code in every generated page.
The Process
Let’s first go over the process of creating your own plugin, later we will go over them step-by-step to dive into each of them more in-depth. For context, we will follow our process of adding GoatCounter analytics to our documentation, which now lives in ‘docusaurus-plugin-goatcounter’ at npm. It can be helpful to check out the source code of the official plugins as inspiration on how to implement a plugin fitting your use-case. We used the ‘@docusaurus/plugin-google-analytics’ as our starting point.
- Prototype Locally Docusaurus allows you to create a plugin in the same source-code as your current project. This allows you to experiment and very quickly get results.
- Move Plugin to Separate Codebase Bootstrap a new project where the codebase of your Docusaurus plugin will live.
- Publish Your Plugin Lastly, we will publish your plugin to NPM, such that you can now include it in all your projects.
1. Prototyping Locally
The documentation of Docusaurus v2 briefly covers how to create plugins. Those instructions target creating a new plugin directly in your current project. We found that this greatly lowers the barrier of entry and allows quick experimentation. If you’re building a large plugin, then you might want to skip this step and start building from a separate code-base, since that will also give you type hinting as we will add TypeScript.
This is the full commit adding our initial version for GoatCounter analytics to our project. Here we will use a slightly simplified version, such that we can focus on the core functionality. For anyone unfamiliar with GoatCounter, we need the plugin to add the following HTML to every page:
<script data-goatcounter="https://MYCODE.goatcounter.com/count"
  async src="//gc.zgo.at/count.js"></script>
First create plugins/goatcounter/index.js and add the following content:
module.exports = function (context) {
  const { siteConfig } = context  // Siteconfig is the content of docusaurus.config.js
  const { themeConfig } = siteConfig

  if (!themeConfig.goatcounter) {
    throw new Error(
      'You need to specify `goatcounter` object in `themeConfig` '
      + 'with `code` field in it to use docusaurus-plugin-goatcounter'
    )
  }
  if (!themeConfig.goatcounter.code) {
    throw new Error(
      'You specified the `goatCounter` object in `themeConfig`, '
      + 'but the `code` field was missing. '
    )
  }

  const analyticsDomain = `https://${themeConfig.goatcounter.code}.goatcounter.com`

  return {
    name: 'docusaurus-plugin-goatcounter',
    injectHtmlTags: () => { // Adds additional HTLM to every page
      return {
        headTags: [
          {
            tagName: 'script',
            attributes: {
              async: true,
              src: '//gc.zgo.at/count.js',
              'data-goatcounter': `${analyticsDomain}/count`,
            },
          },
        ],
      }
    },
  }
}
Now, in docusaurus.config.js add your plugin:
const path = require('path')

module.exports = {
  // ...
  themeConfig: {
    // ...
    goatcounter: {
      code: 'MYCODE',
    },
  },
  plugins: [path.resolve(__dirname, 'plugins', 'goatcounter')],
};
Restart Docusaurus and now every page should have your analytics included in the HTML 🎉 .
2. Creating a Standalone Plugin
Having the plugin in the same code-base as your Docusaurus website might be easy for prototyping. However, it doesn’t allow reusing this piece of logic. Also, your Docusaurus website might not be using TypeScript, which we can add to our plugin project to have type hinting for our plugin.
To bootstrap our project we are going to use TSDX, it sets up a complete TypeScript development package for us.
npx tsdx create docusaurus-plugin-goatcounter
Then add Docusaurus’ types. We explicitly define the desired function, as the ‘latest’-tag is not kept up-to-date. See npm for the latest version.
yarn add --dev @docusaurus/types@2.0.0-alpha.65
Now you can copy the content of plugins/goatcounter/index.js and place it in src/index.ts of your new project.
Since we are migrating from plain JS to TypeScript do we need some minor modifications.
Replace this from plugins/goatcounter/index.js:
module.exports = function (context) {
  const { siteConfig } = context
  const { themeConfig } = siteConfig

  // ... remainder of your plugin
}
With this in src/index.ts:
import { LoadContext, Plugin } from '@docusaurus/types';

function pluginGoatcounter({ siteConfig: { themeConfig }}: LoadContext): Plugin<void> {
  // ... remainder of your your plugin
}

export default pluginGoatcounter
To test your plugin, run yarn build && yarn link in the directory of your newly created plugin. Then in your Docusaurus project, run yarn link docusaurus-plugin-goatcounter and modify docusaurus.config.js to import the plugin as a package, instead of the file:
module.exports = {
  // ...
//  plugins: [path.resolve(__dirname, 'plugins', 'goatcounter')],
  plugins: ['docusaurus-plugin-goatcounter'],
};
3. Publish Your Plugin
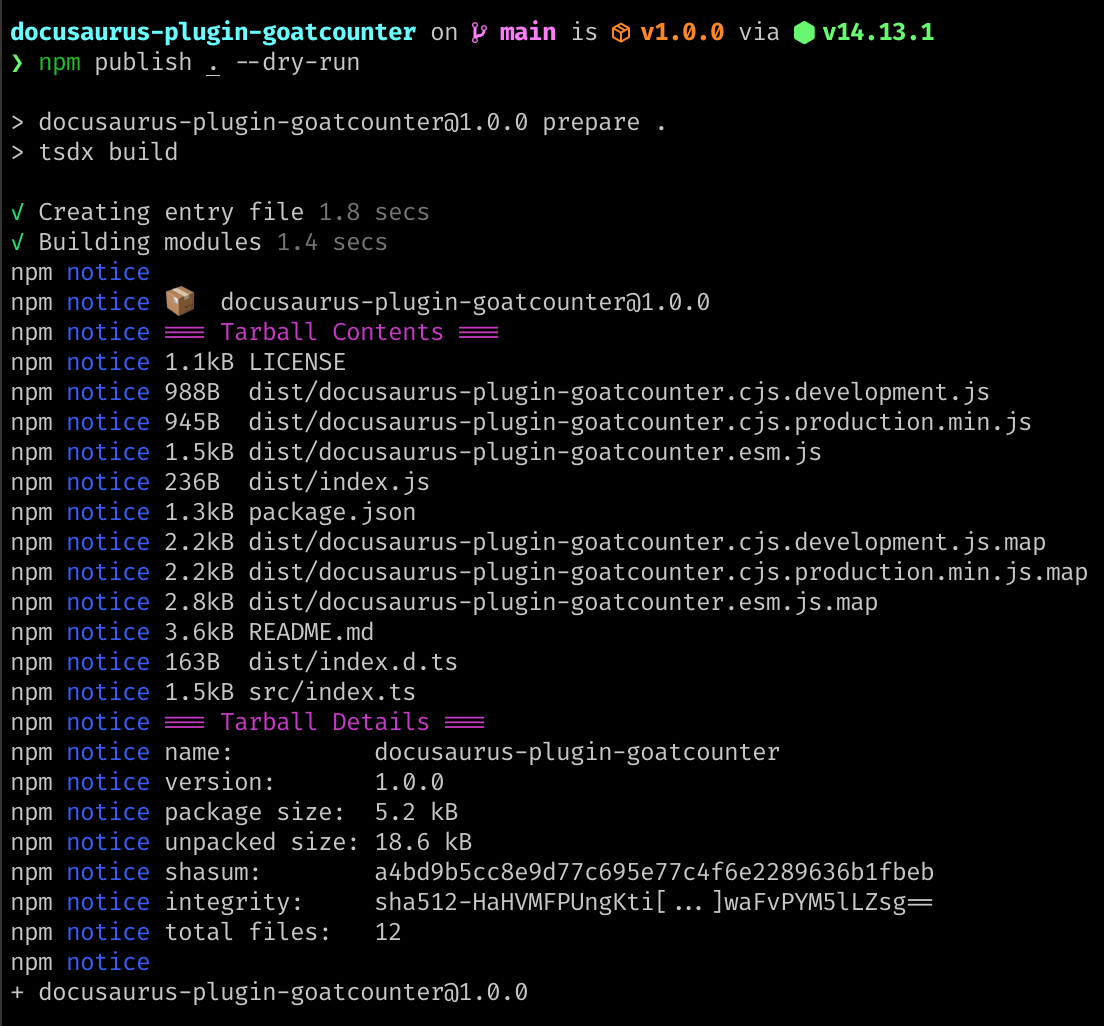
Publishing your plugin is as simple as running npm publish and following the steps it gives.
If you previously linked your plugin to your Docusaurus project, then you first need to run yarn unlink docusaurus-plugin-goatcounter in your Docusaurus project.
Then you can add your dependency from npm:
yarn add docusaurus-plugin-goatcounter
Restart Docusaurus and now you’re using your freshly made standalone Docusaurus plugin 🥳 .
Troubleshooting
Something unclear? Checkout the source code of the plugin and a Docusaurus project using the plugin. Also, feel free to send email me!