June 17, 2024 GitHub Actions GitHub Backup Resilience
I’ve spent a lot of time building everything which I store in GitHub, so I want to make sure I have a backup of it. Here’s how I have been doing it for years now, and it has worked like a charm!
The Problem
With the increasing reliance on GitHub for storing code and managing projects, it’s crucial to have a backup strategy to prevent loss of data. GitHub provides redundancy and reliability, but having your own backup gives you peace of mind and control over your data.
The Solution
Using GitHub Actions, we can automate the process of backing up our entire GitHub account, including repositories, wikis, issues, and more. Below is a GitHub Actions script that accomplishes this.
I happen to already have a storage server that supports WebDAV, so I’ll be using that to store my backups. You can adjust the script to use other storage options like AWS S3, Google Drive, or any other cloud storage provider.
The GitHub Actions script will also back up non-public files, therefore I decided to deploy it in a private repository. This way, I can ensure that the logs of the backup are not publicly accessible.
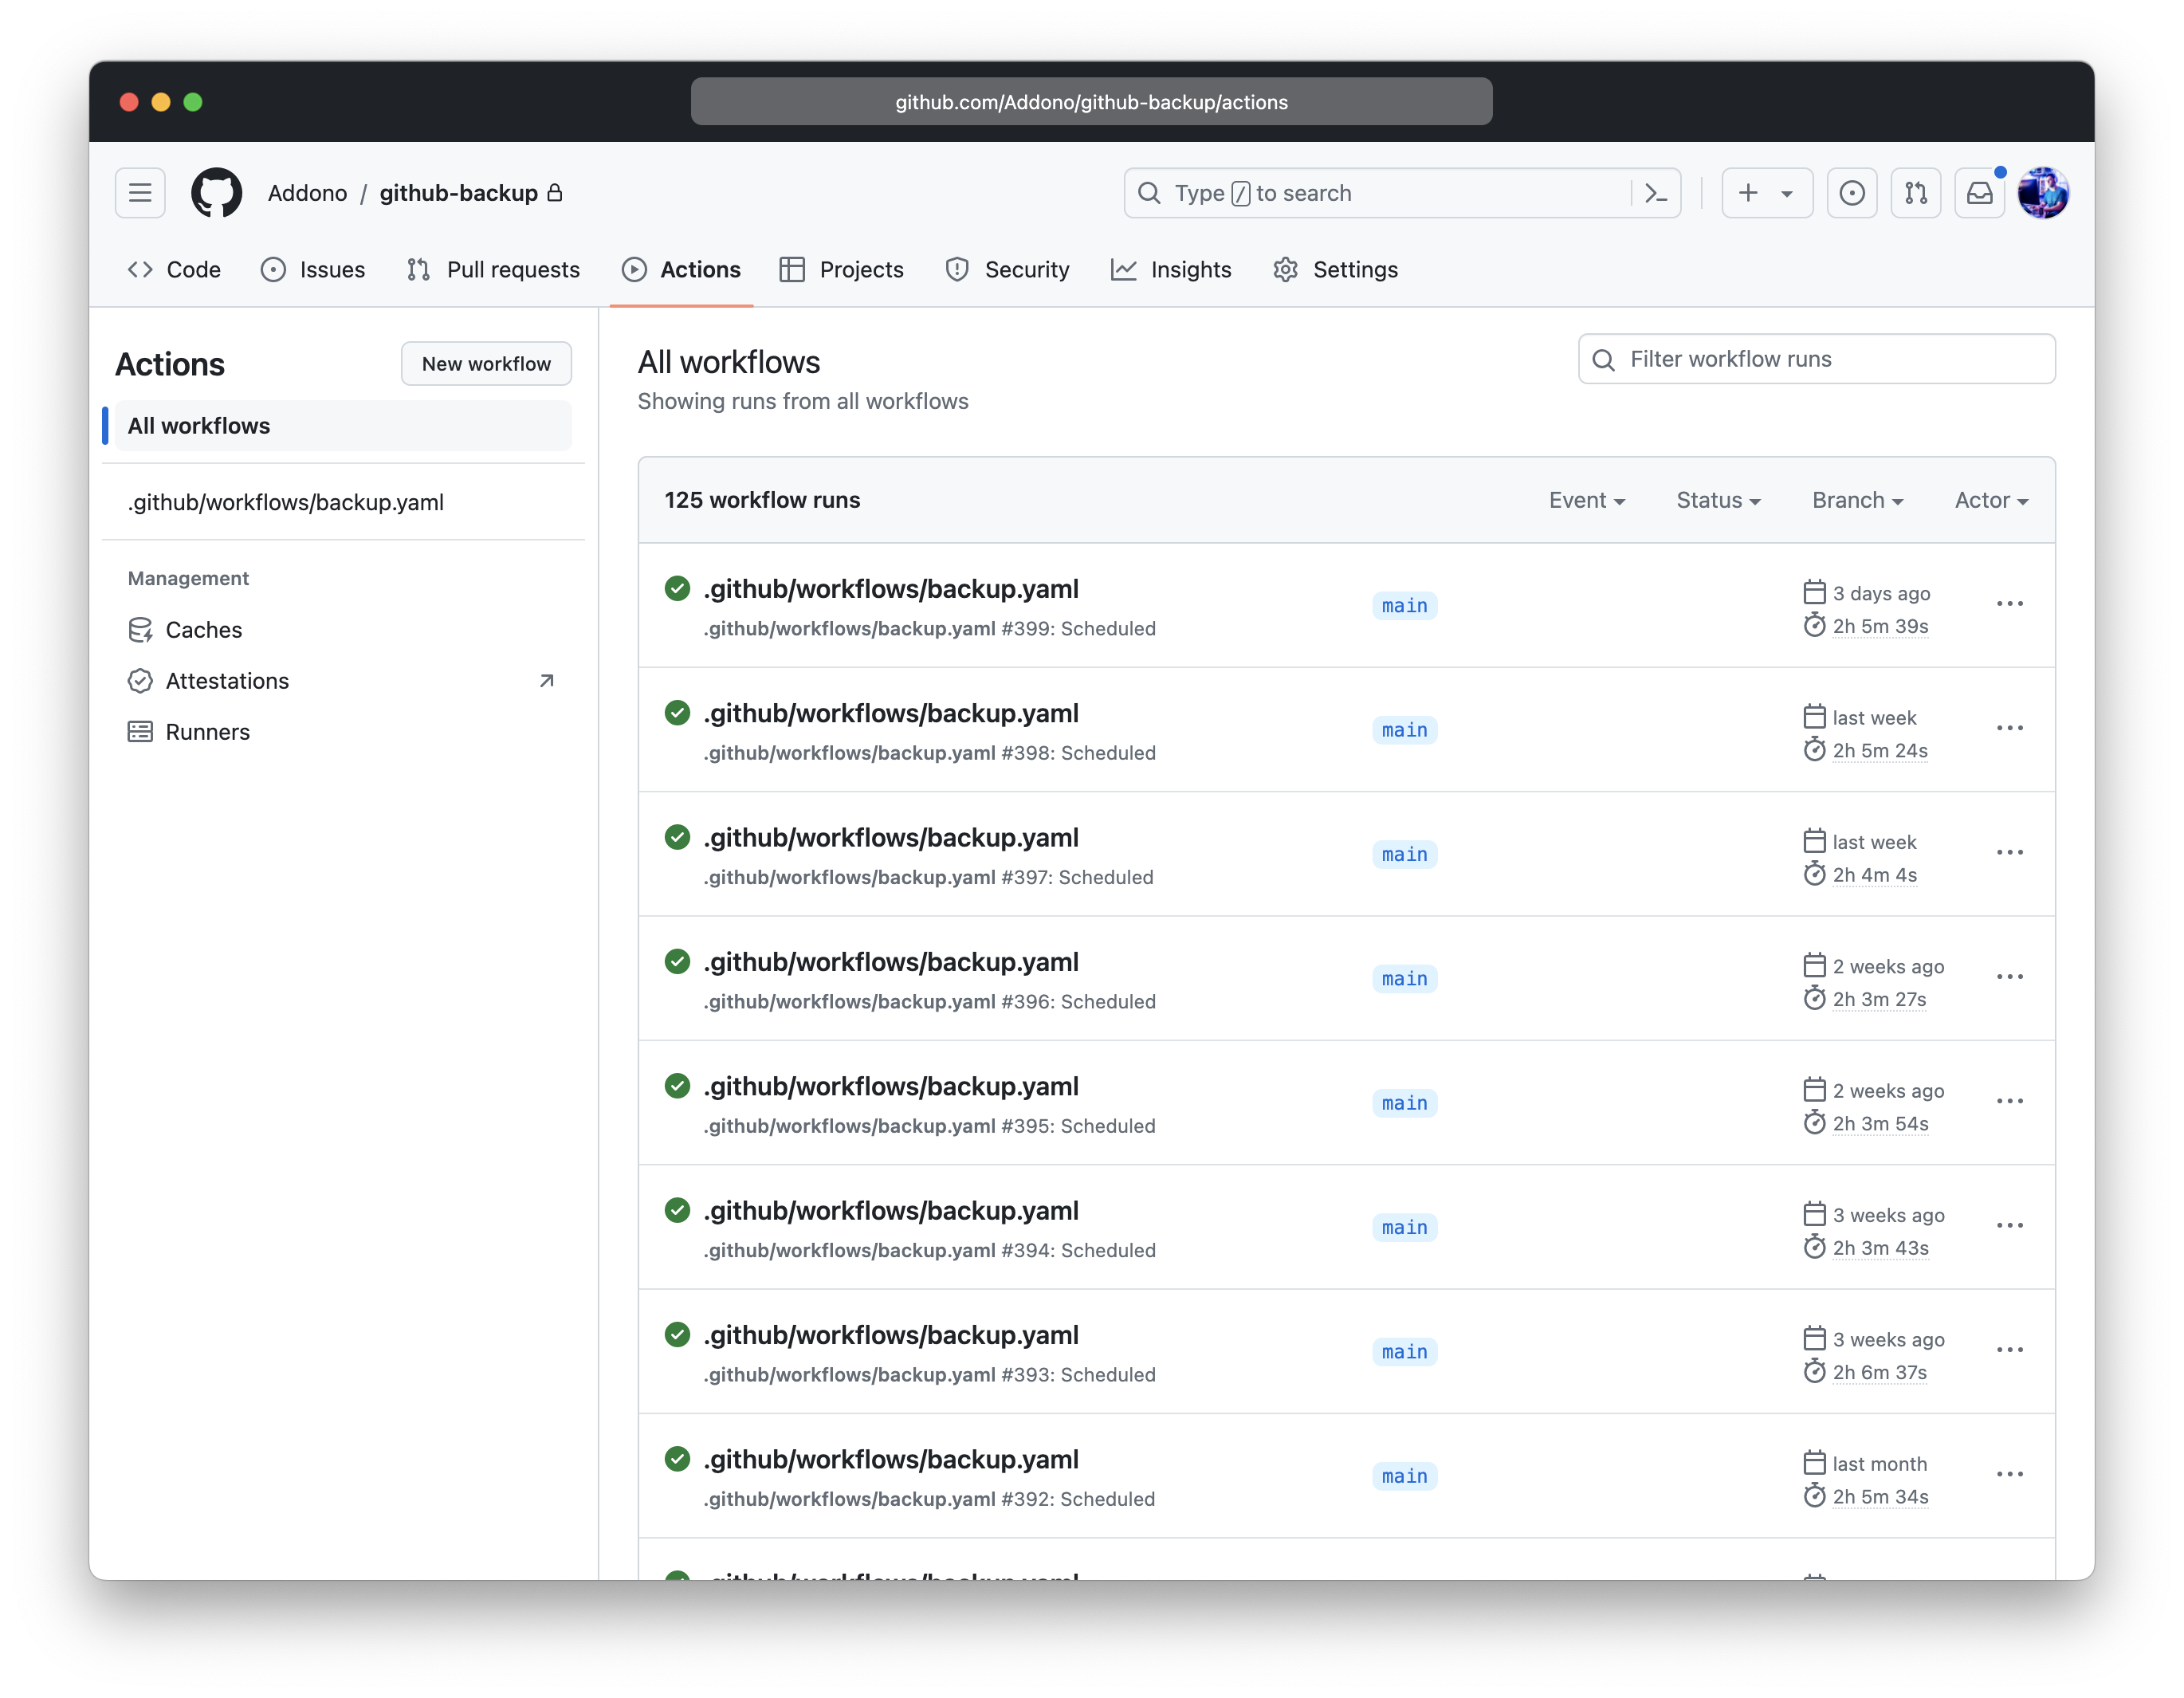
The downside is that it will consume CI minutes from my personal account. Backing up from GitHub is rather slow, as it will run constantly into rate limits, which means a run can take up to 3 hours. Therefore, you probably don’t want to run this script too often. Twice a week is a fine trade-off for me.
For creating the backups, we will be using the github-backup tool, which is a Python script that can back up GitHub repositories, wikis, issues, and more. The script will create a complete backup of the specified GitHub account and store it in a tarball that will be uploaded to a WebDAV server.
To ensure we can easily keep the required version up-to-date, we start by creating a requirements.txt file with the following content:
github-backup==0.45.2
Then, subsequently, we can create the GitHub Actions script, for example called .github/workflows/backup.yml:
on:
  schedule:
    # Run every Wednesday and Sunday at 01:00
    - cron: 0 1 * * 3,6

jobs:
  backup:
    runs-on: ubuntu-20.04

    steps:
      - uses: actions/checkout@v2

      - uses: actions/setup-python@v2
        with:
          python-version: '3.8'

      - name: Install dependencies
        run: pip install -r ./requirements.txt

      - name: Create complete backup
        run: >-
          github-backup
          --token $GITHUB_TOKEN
          --all
          --repositories
          --private
          --fork
          --bare
          --output-directory ./backup/
          --prefer-ssh
          Addono # Account to be backed up
        env:
          GITHUB_TOKEN: ${{ secrets.PERSONAL_GITHUB_TOKEN }}

      - name: Create a tarball of the complete GitHub backup
        run: tar -czvf ./archive.tar.gz ./backup/

      - name: Upload the backup
        run: >-
          curl
          --fail
          --user $WEBDAV_USERNAME:$WEBDAV_PASSWORD
          --upload-file ./archive.tar.gz
          $WEBDAV_HOST/$(date +"%Y-%m-%d_%T")-github-backup.tar.gz
        env:
          WEBDAV_USERNAME: ${{ secrets.WEBDAV_USERNAME }}
          WEBDAV_PASSWORD: ${{ secrets.WEBDAV_PASSWORD }}
          WEBDAV_HOST: https://my.personal.webdav.storage.server/remote.php/webdav
The Breakdown
Let’s break down what this script does:
Scheduling the Backup:
on:
  schedule:
    # Run every Wednesday and Sunday at 01:00
    - cron: 0 1 * * 3,6
This cron schedule triggers the backup job every Wednesday and Sunday at 01:00.
Defining the Job:
jobs:
  backup:
    runs-on: ubuntu-20.04
The job named
backupruns on anubuntu-20.04runner.Checking Out the Repository:
steps:
  - uses: actions/checkout@v2
This step checks out the repository so that the workflow can access its contents.
Setting Up Python:
  - uses: actions/setup-python@v2
    with:
      python-version: '3.8'
The script sets up Python 3.8, which is required for running the backup script.
Installing Dependencies:
  - name: Install dependencies
    run: pip install -r ./requirements.txt
This step installs the necessary Python dependencies listed in
requirements.txt.Creating the Backup:
  - name: Create complete backup
    run: >-
      github-backup
      --token $GITHUB_TOKEN
      --all
      --repositories
      --private
      --fork
      --bare
      --output-directory ./backup/
      --prefer-ssh
      Addono # Account to be backed up
    env:
      GITHUB_TOKEN: ${{ secrets.PERSONAL_GITHUB_TOKEN }}
This step runs the
github-backupcommand with various options to back up all repositories (including private and forked ones) to the./backup/directory.Creating a Tarball:
  - name: Create a tarball of the complete GitHub backup
    run: tar -czvf ./archive.tar.gz ./backup/
This step creates a compressed tarball (
archive.tar.gz) of the backup directory.Uploading the Backup:
  - name: Upload the backup
    run: >-
      curl
      --fail
      --user $WEBDAV_USERNAME:$WEBDAV_PASSWORD
      --upload-file ./archive.tar.gz
      $WEBDAV_HOST/$(date +"%Y-%m-%d_%T")-github-backup.tar.gz
    env:
      WEBDAV_USERNAME: ${{ secrets.WEBDAV_USERNAME }}
      WEBDAV_PASSWORD: ${{ secrets.WEBDAV_PASSWORD }}
      WEBDAV_HOST: https://my.personal.webdav.storage.server/remote.php/webdav
This step uploads the tarball to a WebDAV server using
curl.
Getting Started
To start using this backup script, follow these steps:
Create a Personal Access Token: Generate a personal access token from your GitHub account with the necessary permissions to access your repositories.
Store Secrets: Add the following secrets to your GitHub repository:
PERSONAL_GITHUB_TOKEN: Your GitHub personal access token.WEBDAV_USERNAME: Your WebDAV username.WEBDAV_PASSWORD: Your WebDAV password.WEBDAV_HOST: The URL of your WebDAV server.
Add Requirements: Ensure you have a
requirements.txtfile in your repository with thegithub-backuptool listed.Customize the Script: Adjust the script to match your needs, such as changing the schedule, backup options, or storage location.
Customizing the Backup
Changing the Schedule
You can adjust the cron schedule to run at different times or frequencies. For example, to run daily at 02:00, use:
schedule:
  - cron: 0 2 * * *
Excluding Certain Repositories
To exclude certain repositories, modify the github-backup command to include only the desired repositories. For example:
github-backup --token $GITHUB_TOKEN --repositories repo1 repo2 --output-directory ./backup/
Using Different Storage Options
If you prefer using a different storage option, modify the upload step to use another service such as AWS S3, Google Drive, or any other cloud storage provider. Update the script accordingly to use the relevant CLI tools and authentication methods.
Conclusion
Automating your GitHub backups with GitHub Actions ensures that your work is securely backed up regularly. By following the steps and customizing the script to your needs, you can maintain a resilient backup strategy for your GitHub repositories.